Oreo Dump Cake Recipe
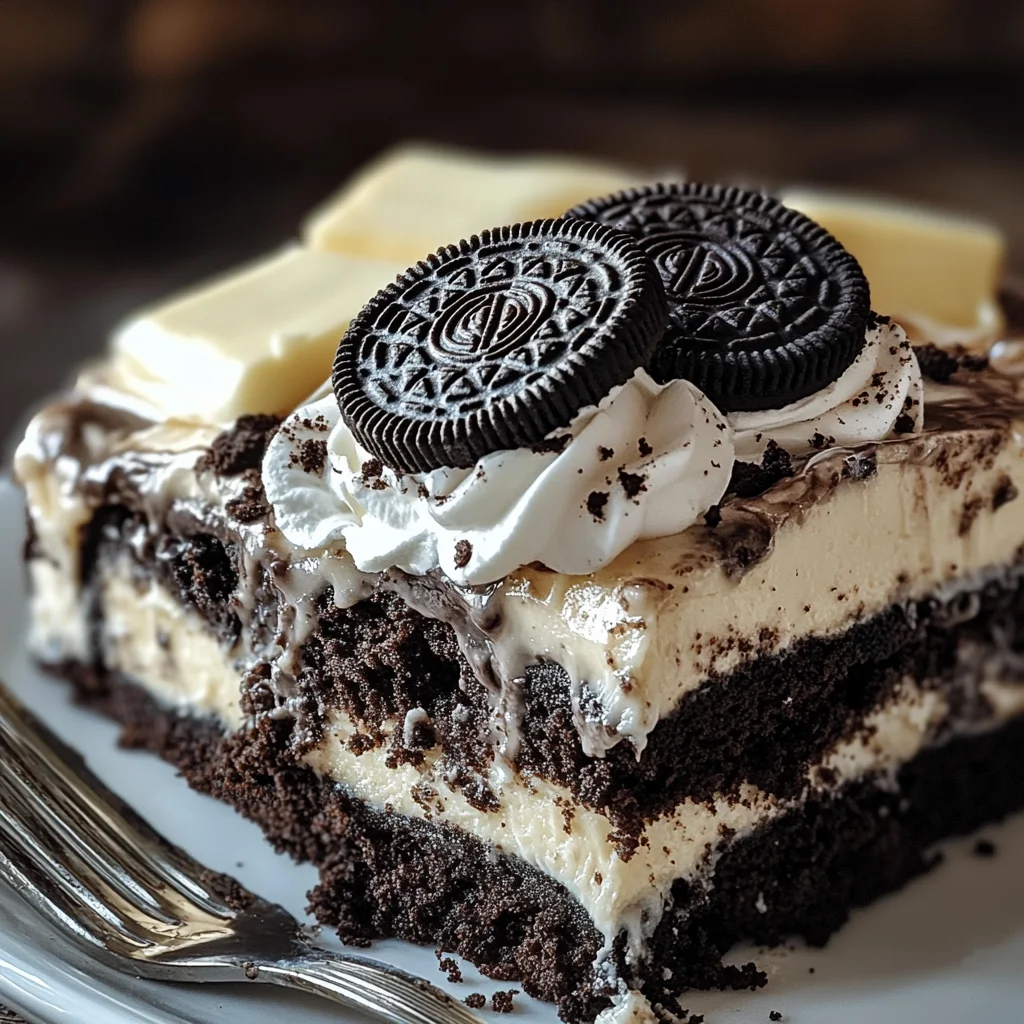
If you’re looking for a dessert that’s deliciously simple and sure to impress, let me introduce you to my beloved Oreo Dump Cake Recipe. This treat combines the irresistible flavors of classic Oreo cookies with rich chocolate cake in a way that feels both indulgent and comforting. Whether you’re hosting a family gathering or just want something sweet after a busy weeknight dinner, this recipe is your go-to!
What I love most about this Oreo Dump Cake is how easy it is to whip up. With minimal prep time and ingredients that you likely have on hand, it’s perfect for any occasion. Trust me; once you make this cake, it will quickly become a favorite in your household!
Why You’ll Love This Recipe
- Quick and Easy: This recipe takes just 10 minutes of prep time, making it ideal for busy days when you need a tasty dessert without the fuss.
- Family-Friendly: Kids and adults alike will adore the combination of Oreos and chocolate; it’s a guaranteed crowd-pleaser!
- Make-Ahead Convenience: You can prepare this dump cake ahead of time and simply pop it in the oven when you’re ready to serve.
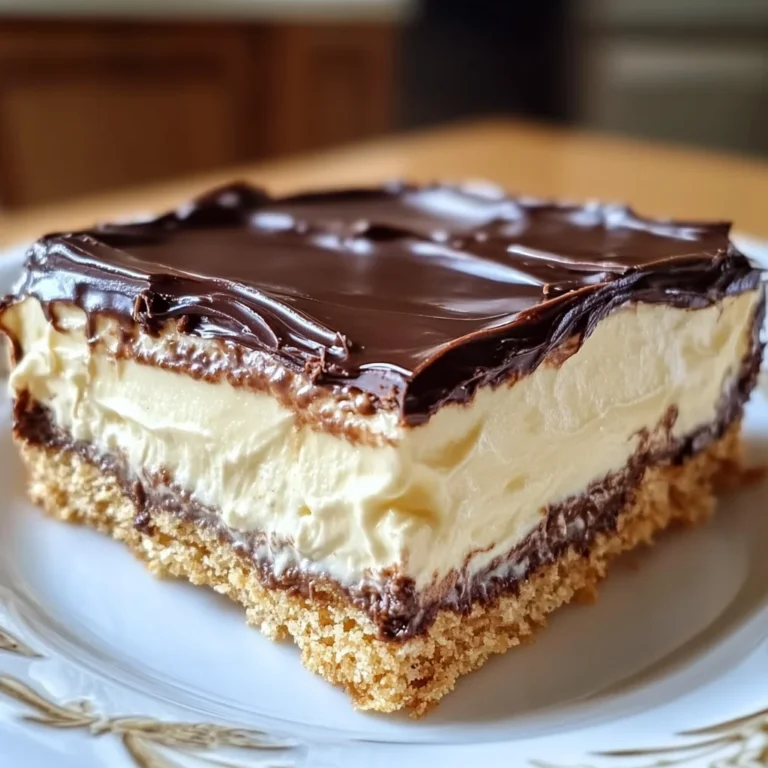
- Decadent Flavor: The creamy layers topped with a golden brown crust create an irresistible dessert experience.
Ingredients You’ll Need
Let’s gather our ingredients! This Oreo Dump Cake uses simple, wholesome components that come together beautifully. You might already have some of these items in your pantry!
For the Base:
- 25 Oreo cookies
- 14 oz can Sweetened Condensed Milk
- 8 oz Whipped Topping (Cool Whip), not frozen
For the Topping:
- 15¼ oz Chocolate cake mix
- ½ cup Sweet Salted Butter (sliced)
Variations
The beauty of this Oreo Dump Cake is its flexibility! Feel free to get creative and tailor it to your taste preferences with these fun variations:
- Add some crunch: Toss in some chopped nuts or extra crushed Oreos on top before baking for added texture.
- Switch up the flavor: Use different flavored cake mixes like vanilla or red velvet for a unique twist.
- Incorporate fruit: Layer in some fresh berries or banana slices for a fruity surprise amidst the chocolate goodness.
- Make it gluten-free: Substitute the chocolate cake mix with a gluten-free version for an equally delightful treat.
How to Make Oreo Dump Cake Recipe
Step 1: Preheat Your Oven
Preheating your oven to 350°F (175°C) sets the stage for baking. It ensures that your dump cake cooks evenly from the start, giving you that perfect golden top.
Step 2: Prepare the Base
In a 9×13-inch baking dish, crush those Oreo cookies into small pieces. Spread them evenly across the bottom of the dish; this will form a delicious crust that absorbs all those sweet flavors.
Step 3: Add Sweetened Condensed Milk
Pour the sweetened condensed milk over your crushed Oreos, making sure to cover them evenly. This layer adds a rich creaminess that melds beautifully during baking.
Step 4: Spread Whipped Topping
Now, dollop your whipped topping (Cool Whip) over the condensed milk layer. Gently spread it out – this will create a luscious layer that complements the other flavors perfectly.
Step 5: Sprinkle Chocolate Cake Mix
Next, sprinkle your chocolate cake mix evenly over the whipped topping. Remember not to mix anything together! Each layer has its purpose and will cook beautifully on its own.
Step 6: Add Butter Slices
Slice your sweet salted butter into thin pieces and place them evenly on top of the cake mix. The butter melts during baking, creating an incredible richness throughout your dump cake.
Step 7: Bake It Up
Pop your baking dish into the preheated oven and bake for about 35-40 minutes. Keep an eye on it until the top turns golden brown and becomes set – it’s hard to resist that delicious aroma wafting through your kitchen!
Step 8: Serve & Enjoy!
Once baked, let your Oreo Dump Cake cool slightly before serving. You can enjoy it warm as is or dress it up with extra whipped topping or even a scoop of vanilla ice cream if you’re feeling indulgent!
And there you have it—a delightful dessert that’s as simple as it is satisfying! Enjoy every bite of this lovely Oreo Dump Cake!
Pro Tips for Making Oreo Dump Cake Recipe
Creating the perfect Oreo Dump Cake is easier than you think! Here are some handy tips to ensure your dessert turns out deliciously every time.
-
Use room temperature ingredients: Allowing your sweetened condensed milk and whipped topping to warm up a bit makes them easier to spread and blend into the other layers, leading to a creamier texture.
-
Crush Oreos uniformly: For the best base, crush the Oreos into fine pieces. This ensures they distribute evenly across the bottom of your baking dish, providing a consistent flavor in every bite.
-
Don’t overbake: Keep an eye on the cake while it’s in the oven. Overbaking can lead to a dry texture, so aim for that golden brown top and check for doneness around the 35-minute mark.
-
Experiment with flavors: Feel free to mix things up by using different flavored Oreos or cake mixes like vanilla or red velvet. This adds a fun twist and allows you to customize the dessert to your taste!
-
Let it cool before serving: Allowing your dump cake to cool slightly helps set the layers and make it easier to serve. Plus, it enhances the flavors as they meld together.
How to Serve Oreo Dump Cake Recipe
Presenting your Oreo Dump Cake can be just as fun as making it! With a few simple ideas, you can take this delightful dessert from ordinary to extraordinary.
Garnishes
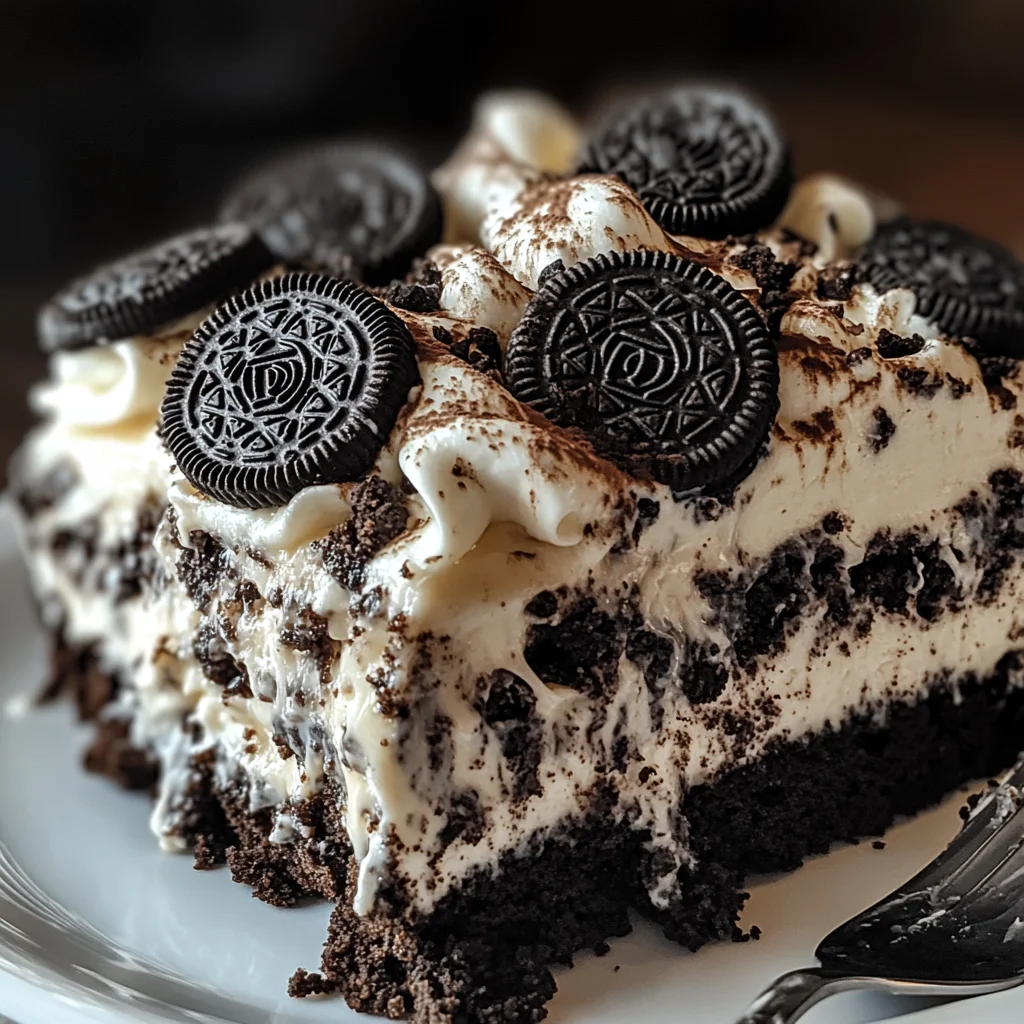
- Crushed Oreo Topping: Sprinkling crushed Oreos on top adds an extra crunch and enhances that classic Oreo flavor.
- Chocolate Syrup Drizzle: A light drizzle of chocolate syrup not only looks appealing but also complements the chocolatey goodness of the cake.
- Fresh Berries: Adding fresh raspberries or strawberries provides a pop of color and a refreshing tartness that balances out the sweetness.
Side Dishes
- Vanilla Ice Cream: A scoop of creamy vanilla ice cream pairs perfectly with warm dump cake, creating an irresistible contrast of textures.
- Fruit Salad: A light fruit salad can provide a refreshing side that cuts through the richness of the cake, making for a well-rounded dessert experience.
- Chocolate Chip Cookies: For those with an insatiable sweet tooth, serving cookies alongside your dump cake offers another delicious option that guests will love.
- Coffee or Tea: A warm cup of coffee or herbal tea can be a great way to offset the sweetness of this indulgent dessert, rounding out your serving experience beautifully.
With these tips and serving suggestions, you’re all set to impress your friends and family with this easy yet delightful Oreo Dump Cake! Enjoy every moment spent sharing this treat.
Make Ahead and Storage
This Oreo Dump Cake is perfect for meal prep, allowing you to enjoy a delicious dessert without the last-minute fuss. It stores well, making it an excellent option for gatherings or simply satisfying your sweet tooth throughout the week.
Storing Leftovers
- Allow the dump cake to cool completely before storing.
- Cover the baking dish tightly with plastic wrap or aluminum foil.
- Store in the refrigerator for up to 3-4 days.
- For best quality, consume within this timeframe.
Freezing
- Once cooled, cut the dump cake into individual portions for easy thawing.
- Wrap each portion tightly in plastic wrap and then place in an airtight container or freezer bag.
- Freeze for up to 2 months.
- Label the container with the date for reference.
Reheating
- Thaw overnight in the refrigerator if frozen.
- To reheat, place individual portions in the microwave on medium power for about 20-30 seconds or until warmed through.
- Alternatively, reheat in a preheated oven at 350°F (175°C) for about 10-15 minutes.
FAQs
I know you might have some questions about this delightful recipe!
Can I make this Oreo Dump Cake Recipe gluten-free?
Yes! Simply use a gluten-free chocolate cake mix to ensure everyone can enjoy this delicious dessert.
How long does it take to prepare the Oreo Dump Cake Recipe?
This recipe takes just about 10 minutes of prep time and approximately 35-40 minutes of baking. In under an hour, you can have a delightful dessert ready!
Can I use other cookies in place of Oreos?
Absolutely! While Oreos bring a classic flavor, feel free to experiment with other chocolate sandwich cookies that suit your taste.
Final Thoughts
I hope you find joy in making this Oreo Dump Cake! It’s a special treat that brings together simple ingredients and love. Whether you’re serving it at a gathering or enjoying it on your own, it’s sure to be a hit. Don’t hesitate to try this recipe out—I can’t wait for you to savor each delicious bite!
Oreo Dump Cake

If you’re on the hunt for an incredibly easy yet indulgent dessert, look no further than this Oreo Dump Cake Recipe. Combining the rich flavors of classic Oreo cookies with a delicious chocolate cake mix, this dessert is sure to impress at any gathering or simply satisfy your sweet cravings after a long day. With minimal prep time and straightforward ingredients, you can whip it up in a flash. Imagine layers of creamy goodness topped with a golden brown crust that melts in your mouth. Perfect for family celebrations or treat yourself moments, this dump cake will quickly become a staple in your dessert repertoire!
- Prep Time: 10 minutes
- Cook Time: 35 minutes
- Total Time: 45 minutes
- Yield: Serves approximately 12 1x
- Category: Dessert
- Method: Baking
- Cuisine: American
Ingredients
- 25 Oreo cookies
- 14 oz can Sweetened Condensed Milk
- 8 oz Whipped Topping (Cool Whip), not frozen
- 15¼ oz Chocolate cake mix
- ½ cup Sweet Salted Butter (sliced)
Instructions
- Preheat your oven to 350°F (175°C).
- Crush the Oreo cookies and evenly spread them in a 9×13-inch baking dish.
- Pour the sweetened condensed milk over the crushed Oreos.
- Spread the whipped topping over the milk layer.
- Sprinkle chocolate cake mix evenly on top without mixing.
- Place slices of butter evenly across the cake mix.
- Bake for 35-40 minutes until the top is golden brown.
- Allow to cool slightly before serving.
Nutrition
- Serving Size: 1 piece (about 90g)
- Calories: 320
- Sugar: 22g
- Sodium: 210mg
- Fat: 16g
- Saturated Fat: 8g
- Unsaturated Fat: 6g
- Trans Fat: 0g
- Carbohydrates: 43g
- Fiber: 1g
- Protein: 3g
- Cholesterol: 30mg