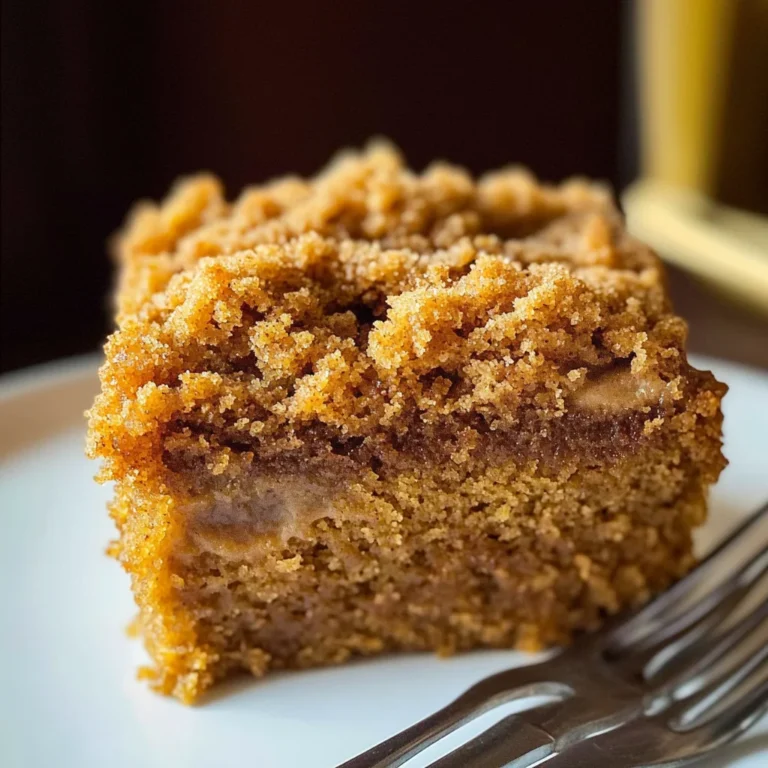
Butterfinger Balls Recipe: A Quick and Easy Delight
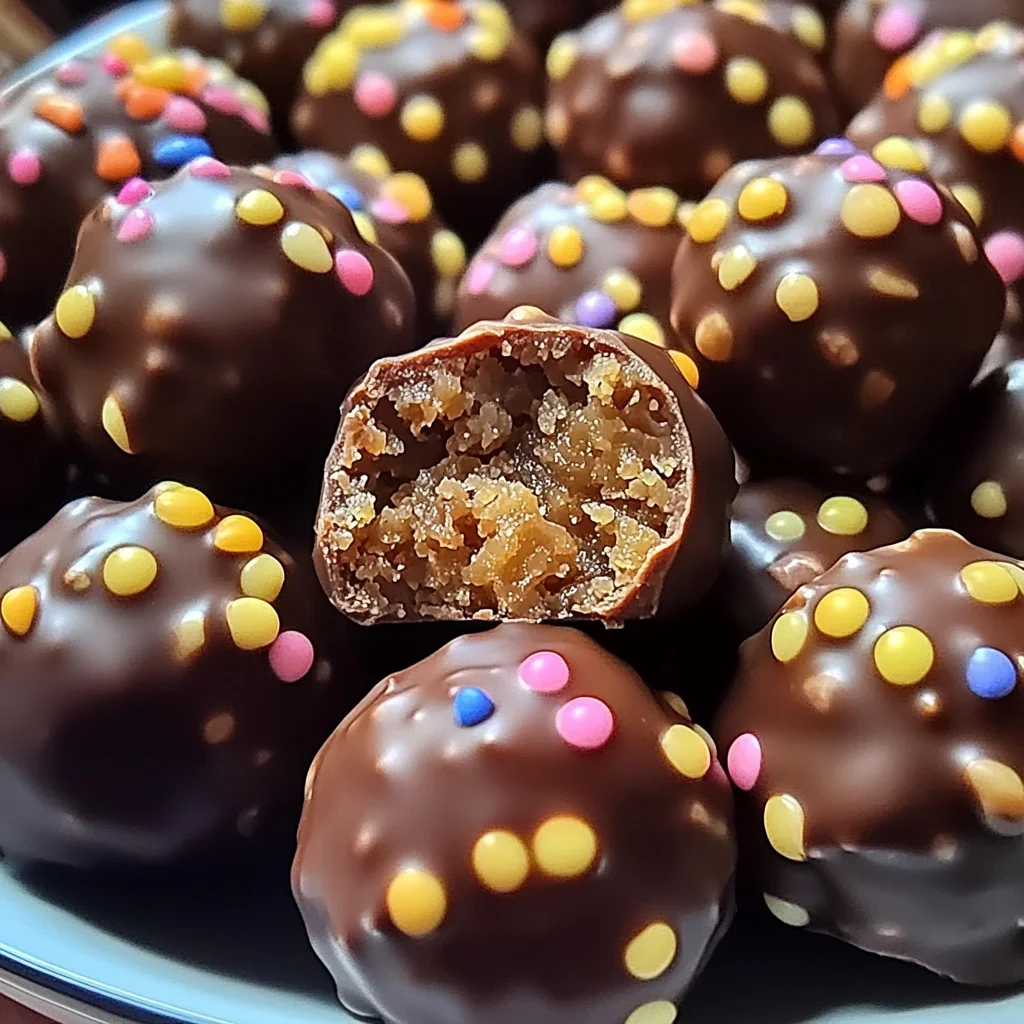
If you’re looking for a sweet treat that’s quick, easy, and oh-so-delicious, look no further than this Butterfinger Balls Recipe: A Quick and Easy Delight. These little bites of heaven are packed with creamy peanut butter and sweet Butterfinger crunch, making them the perfect snack or dessert for any occasion. Whether you’re hosting a family gathering or just want a quick indulgence after a long day, these buttery, chocolatey balls will surely bring smiles all around!
What I love most about this recipe is how simple it is. You can whip up a batch in no time at all, and they require no baking! Plus, they’re great for making ahead of time—just store them in the fridge until you’re ready to enjoy. Trust me, once you make these Butterfinger balls, they’ll become a favorite in your household.
Why You’ll Love This Recipe
- Quick Preparation: With only 25 minutes of prep time, you can have these tasty treats ready to chill in no time!
- Family-Friendly Appeal: Kids and adults alike will love the sweet peanut butter and crunchy chocolate combination.
- Make-Ahead Convenience: These treats can be made in advance, so they’re perfect for busy weeknights or last-minute gatherings.
- Customizable Toppings: You can get creative with toppings—add more crushed Butterfingers or even some festive sprinkles!
- No-Bake Fun: No oven required! Just mix, roll, chill, and dip for an easy candy-making experience.
Ingredients You’ll Need
Let’s gather some simple and wholesome ingredients to get started on this delightful treat. You likely have many of these items already in your pantry!
For the Base
- 4 tablespoons unsalted butter, softened
- 1 teaspoon vanilla extract
- 1 cup peanut butter (not all-natural; no oil separation)
- 1 cup powdered sugar
- ¾ cup graham cracker crumbs
- ½ cup crushed Butterfinger bars
For Coating
- 8 ounces chocolate bark or chocolate chips (for coating)
Optional Toppings
- Extra crushed Butterfinger bars
- Festive sprinkles
- Coarse sea salt
Variations
This Butterfinger Balls Recipe is super flexible! Feel free to switch things up according to your taste or what you have on hand.
- Use Different Nut Butters: Swap peanut butter for almond or cashew butter if you prefer.
- Change the Coating: Instead of chocolate bark, try white chocolate for a fun twist.
- Add Some Crunch: Mix in chopped nuts or crispy rice cereal for added texture.
- Flavor Boost: Stir in a pinch of sea salt or cinnamon for an extra layer of flavor.
How to Make Butterfinger Balls Recipe: A Quick and Easy Delight
Step 1: Mix the Base
In a large bowl, use either a hand mixer or stand mixer to cream together the peanut butter and softened butter until the mixture is smooth. This step is crucial because it creates that rich base that holds everything together. Once well combined, add in the vanilla extract and mix until fully incorporated.
Step 2: Add Sweetness and Crunch
Gradually mix in the powdered sugar at low speed, scraping down the bowl as needed to ensure everything is blended perfectly. Next, fold in the graham cracker crumbs along with the crushed Butterfingers until evenly combined. This mixture brings together sweetness and crunch—a true match made in dessert heaven!
Step 3: Form the Balls
Now it’s time to roll those delicious bites! Line a baking sheet with parchment paper to prevent sticking. Scoop out about 1 to 1½ tablespoons of the mixture and roll it into balls using your hands. Place them on the baking sheet with enough space between each ball so they don’t stick together.
Step 4: Chill to Set
Pop those rolled balls into the freezer for about 30 minutes or until completely firm. Chilling helps them hold their shape when we dip them in chocolate later.
Step 5: Melt the Chocolate
In a microwave-safe bowl, melt your choice of chocolate bark or chips at 50% power in 30-second intervals. Stir between each interval until smooth but avoid overheating—this will ensure our coating comes out perfectly glossy!
Step 6: Dip and Decorate
Once your balls are chilled and your chocolate is melted, it’s time for the fun part! Dip each ball into the melted chocolate—whether you want to coat it fully or half-dip it is totally up to you! Before the chocolate sets, sprinkle on some extra crushed Butterfingers, coarse sea salt, or festive decorations for that added touch.
Step 7: Let Them Set
Allow your beautiful creations to harden either at room temperature or by placing them back in the fridge until firm. Store any leftovers (if there are any!) in an airtight container in the fridge for up to one week… though I doubt they’ll last that long!
Now grab your loved ones and enjoy these delectable treats together!
Pro Tips for Making Butterfinger Balls Recipe: A Quick and Easy Delight
Creating these delightful treats can be a breeze with a few handy tips to ensure they turn out perfectly.
-
Use Room Temperature Ingredients: Starting with butter that’s softened and peanut butter at room temperature ensures a smooth mixture, making it easier to incorporate all the ingredients evenly.
-
Don’t Overmix: Once you add the powdered sugar, mix just until combined. Overmixing can lead to a denser texture rather than the light and airy consistency you want.
-
Chill Thoroughly: Make sure to freeze the balls until they are firm before dipping them in chocolate. This prevents them from falling apart during the coating process.
-
Customize Your Coatings: Experiment with different types of chocolate or toppings! Dark chocolate pairs beautifully with the sweetness of the filling, while white chocolate adds a lovely contrast.
-
Storage Matters: Keep your Butterfinger balls in an airtight container in the fridge. This not only helps maintain their freshness but also keeps them cool and delicious!
How to Serve Butterfinger Balls Recipe: A Quick and Easy Delight
These Butterfinger Balls are not only scrumptious but also visually appealing. Presenting them well can enhance their charm, making them perfect for any occasion.
Garnishes
- Crushed Nuts: Sprinkle some crushed nuts like peanuts or almonds for an added crunch that complements the flavors.
- Chocolate Drizzle: A quick drizzle of melted chocolate on top adds a fancy touch and makes them look irresistibly tempting.
- Coconut Flakes: For those who love tropical flavors, shredded coconut can add an interesting twist and visual appeal.
Side Dishes
- Fresh Fruit Platter: A selection of seasonal fruits like strawberries, apples, or bananas offers a refreshing contrast to the sweetness of the Butterfinger balls.
- Milk or Non-Dairy Alternatives: Pair your treats with a cold glass of milk or almond milk; it’s classic and balances the richness wonderfully.
- Coffee or Tea: Enjoying these bites with a cup of coffee or herbal tea can create a delightful afternoon treat experience.
- Ice Cream: Serve alongside a scoop of vanilla or chocolate ice cream for an indulgent dessert that is sure to impress your guests.
Now that you have all the tips and serving suggestions, it’s time to whip up this delightful treat! Enjoy every bite of your homemade Butterfinger Balls!

Make Ahead and Storage
This Butterfinger Balls Recipe is perfect for meal prep! You can easily make a batch ahead of time, store them, and then enjoy a sweet treat whenever you want. Here’s how to keep your delicious creations fresh:
Storing Leftovers
- Store Butterfinger balls in an airtight container.
- Keep them in the refrigerator for up to 1 week.
- For optimal flavor, consume them within a few days.
Freezing
- Place the cooled Butterfinger balls on a baking sheet in a single layer.
- Freeze until solid, then transfer to an airtight container or freezer bag.
- They can be frozen for up to 3 months—just thaw in the refrigerator before enjoying!
Reheating
- These delightful treats are best enjoyed chilled or at room temperature.
- If desired, let them sit out for about 10 minutes after taking them from the fridge for easier biting.
FAQs
Here are some common questions about this delightful recipe:
Can I make this Butterfinger Balls Recipe vegan?
Yes! Substitute the butter with a plant-based alternative and ensure that your chocolate is dairy-free.
How long do these Butterfinger Balls last?
When stored properly in the fridge, they can last up to 1 week. For longer storage, freeze them for up to 3 months.
What if I don’t have graham cracker crumbs?
You can use crushed cookies or even cereal as a substitute. Just ensure they are finely crushed to maintain the texture!
Can I use any type of chocolate for coating?
Absolutely! Feel free to experiment with dark, milk, or white chocolate based on your preference.
Are these Butterfinger Balls suitable for parties?
Definitely! These treats are crowd-pleasers and perfect for sharing at gatherings or special occasions.
Final Thoughts
I hope you find joy in making this Butterfinger Balls Recipe: A Quick and Easy Delight! They’re not just delicious but also incredibly easy to whip up. Perfect for sharing with friends or indulging in yourself, these sweet bites bring a little happiness wherever they go. Enjoy every moment of making (and tasting!) these delightful treats!
Butterfinger Balls Recipe: A Quick and Easy Delight
Indulge in the delightful world of homemade treats with this Butterfinger Balls Recipe: A Quick and Easy Delight. Perfectly creamy and packed with the nostalgic flavor of peanut butter and crunchy Butterfinger bars, these no-bake bites are a must-try for dessert enthusiasts. Whether you’re preparing for a family gathering, looking for a quick snack, or simply craving something sweet after a long day, this recipe has got you covered. With just a few simple ingredients and minimal preparation time, you can create a batch of these irresistible chocolate-coated delights that will leave everyone wanting more.
- Prep Time: 25 minutes
- Cook Time: None
- Total Time: 0 hours
- Yield: About 16 servings 1x
- Category: Dessert
- Method: No-bake
- Cuisine: American
Ingredients
- 4 tablespoons unsalted butter (softened)
- 1 cup peanut butter (no oil separation)
- 1 cup powdered sugar
- ¾ cup graham cracker crumbs
- ½ cup crushed Butterfinger bars
- 8 ounces chocolate bark or chocolate chips (for coating)
Instructions
- In a large bowl, cream together the softened butter and peanut butter until smooth. Mix in vanilla extract.
- Gradually add powdered sugar while mixing on low speed. Fold in graham cracker crumbs and crushed Butterfingers until well combined.
- Scoop about 1 to 1½ tablespoons of the mixture and roll into balls. Place on a parchment-lined baking sheet.
- Chill in the freezer for about 30 minutes until firm.
- Melt chocolate in the microwave at 50% power, stirring every 30 seconds until smooth.
- Dip each ball into melted chocolate, then return to the baking sheet and allow to set.
Nutrition
- Serving Size: 1 ball (25g)
- Calories: 110
- Sugar: 9g
- Sodium: 45mg
- Fat: 7g
- Saturated Fat: 3g
- Unsaturated Fat: 4g
- Trans Fat: 0g
- Carbohydrates: 10g
- Fiber: 0g
- Protein: 2g
- Cholesterol: 5mg


